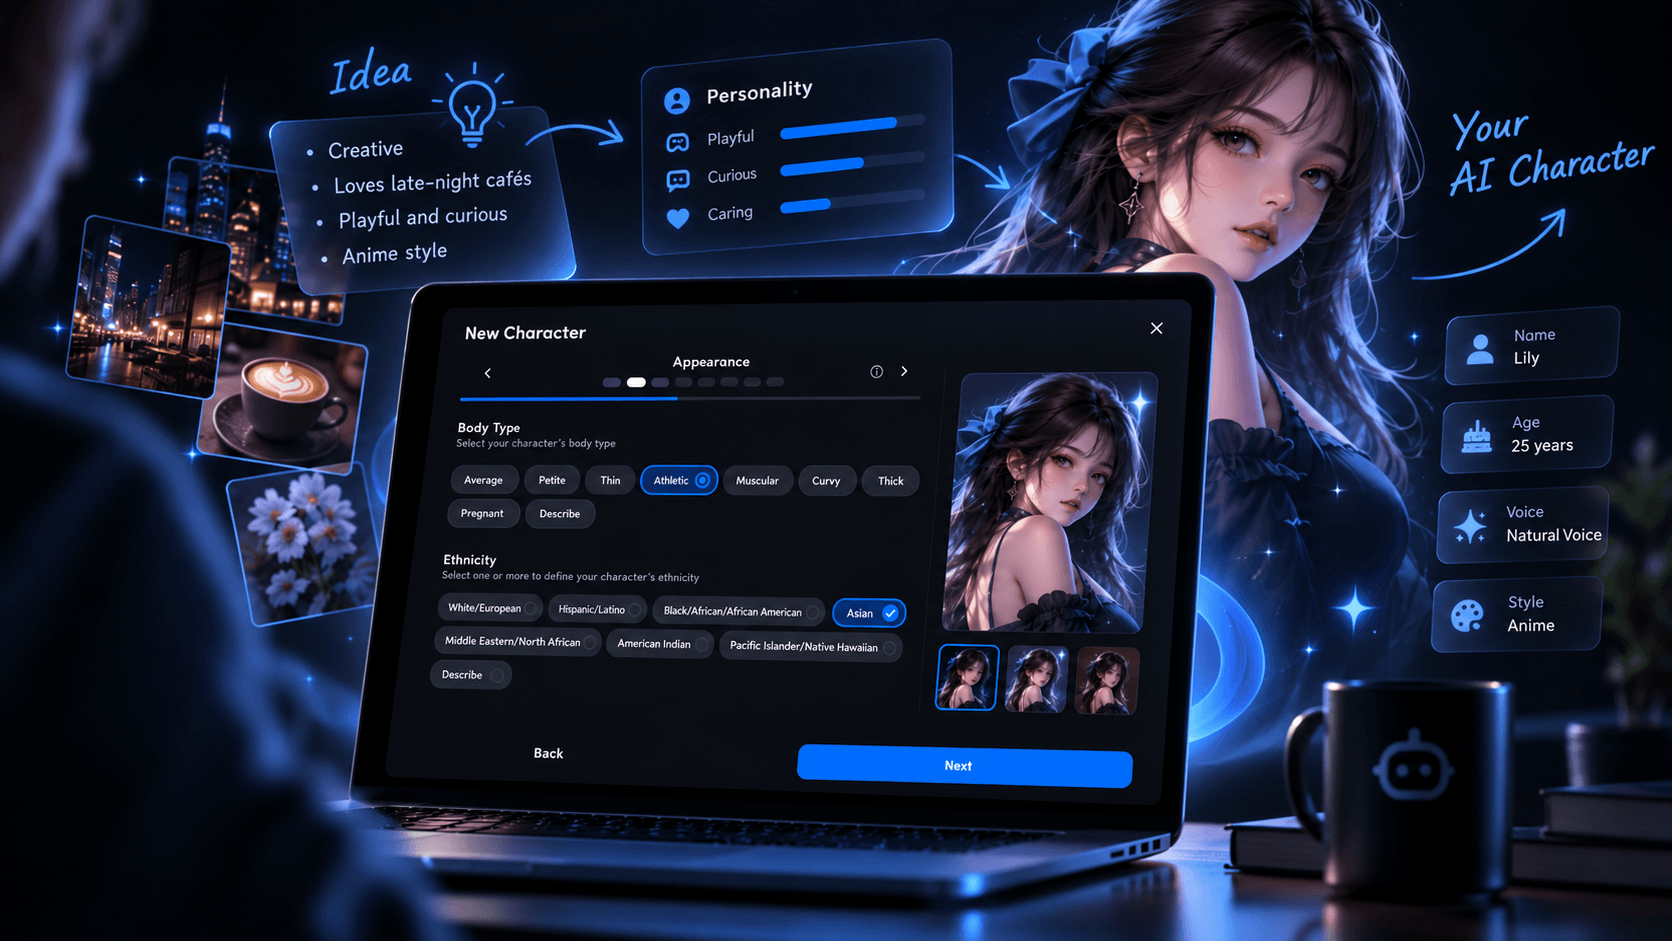
Creating an AI character on MyBot happens through an eight-step Character Creation Wizard. You’ll choose the basics first, then work through appearance, voice, conversation style, personality, physical details, and finally the character image.
Some steps are required and others are optional. On required screens, Next appears once the required choices are complete. On optional screens, you can choose Skip, or Next once you add something.
Before opening the wizard, it helps to have one simple idea in mind: Who is this character supposed to be?
A useful starting concept could be:
- a sarcastic sci-fi copilot who slowly becomes more trusting
- a patient language-practice partner who corrects mistakes without interrupting every sentence
- an upbeat fantasy adventurer who treats each conversation like part of an ongoing quest
- a calm companion for everyday conversation
You do not need to plan every detail before you start. A clear role gives you enough direction to make the choices inside the wizard without turning character creation into a writing project.
Step 1: Set the Basic Info
The first screen is Basic Info. This is where you set the character’s core identity, visibility, and content setting.
Name
You can choose:
- Pick for me
- Custom
Pick for me is selected by default. Choosing Custom opens a field where you can enter the character’s name yourself.
Gender
Choose:
- Male
- Female
- Describe
Gender is required. Selecting Describe opens a text field so you can define it yourself.
Your gender selection also influences the default voice filter you see later in the wizard.
Age
Use the Current Age slider to choose an age from 18 to 100. The default is 25.
Character Visibility
You can decide who can access the character right away:
- Anybody — other users can find and use the character
- Only you — private to your account; this is the default
- Unlisted — accessible to anyone who has the link
You do not need to wait until the end of character creation to make this decision.
Explicit/NSFW Content
Choose On or Off for the character’s Explicit/NSFW Content setting. There is no default, so you need to make a selection before moving on.
Step 2: Choose the Appearance Basics
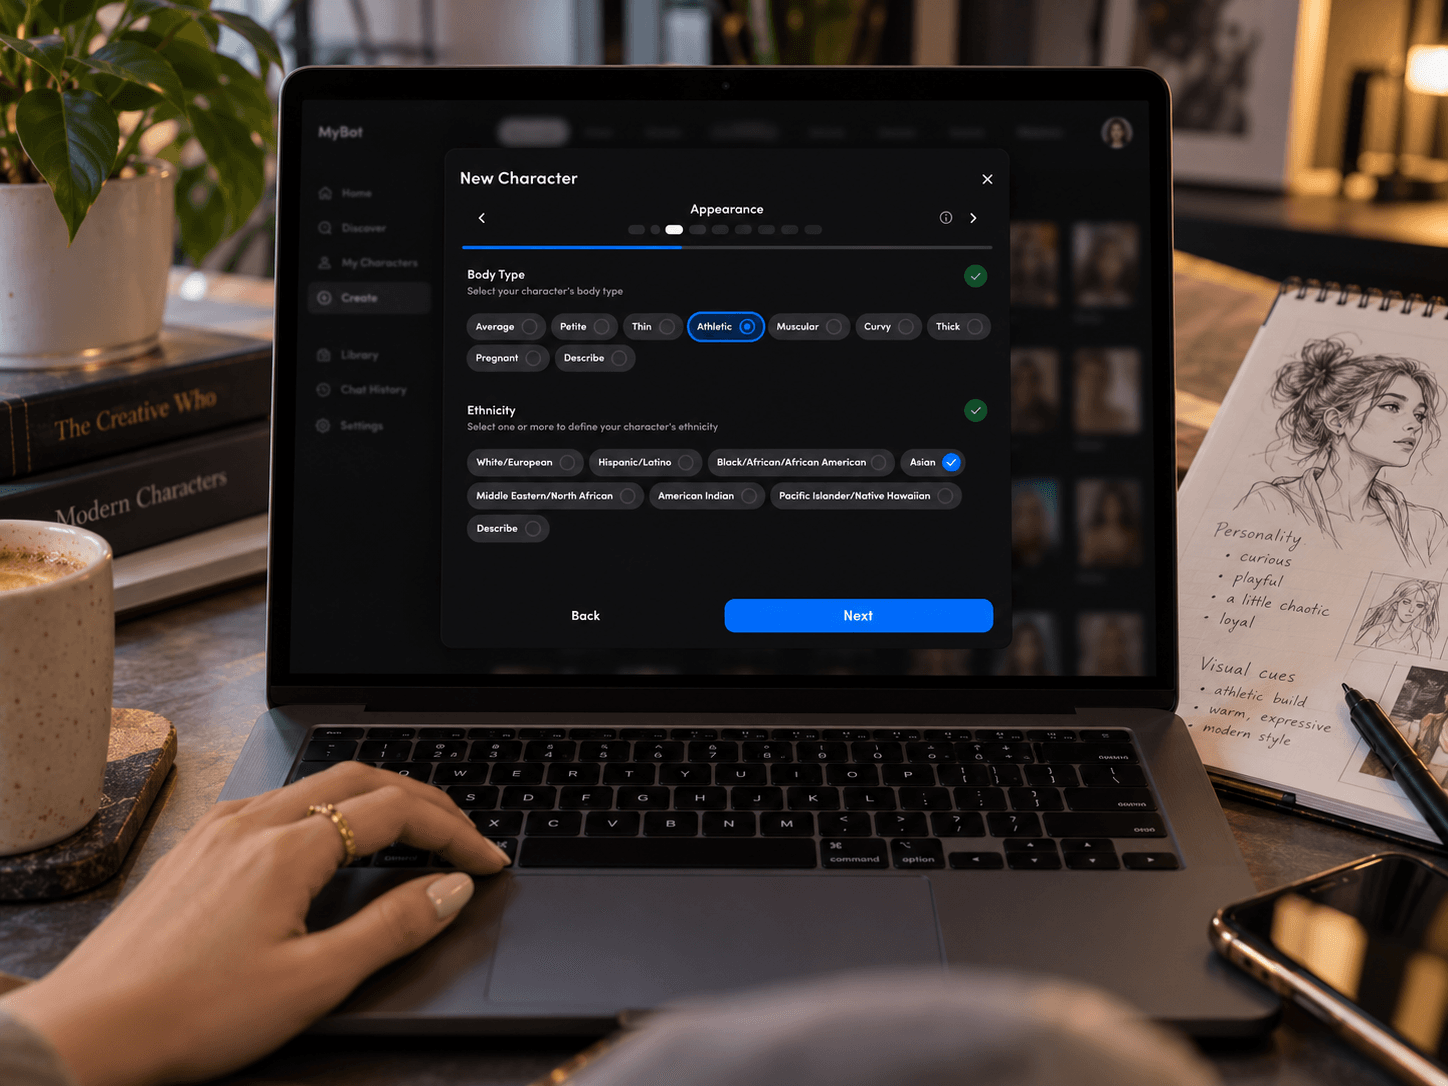
The second screen is Appearance.
At this stage you are not choosing the finished avatar yet. You are giving MyBot some of the physical information it will use later when generating the character.
Body Type
Choose one:
- Average
- Petite
- Thin
- Athletic
- Muscular
- Curvy
- Thick
- Pregnant
- Describe
Selecting Describe opens a field where you can enter your own description.
Ethnicity
You can select one or more:
- White/European
- Hispanic/Latino
- Black/African/African American
- Asian
- Middle Eastern/North African
- American Indian
- Pacific Islander/Native Hawaiian
- Describe
Describe again lets you enter your own description.
Both Body Type and Ethnicity are required before continuing.
Step 3: Choose AI and Voice
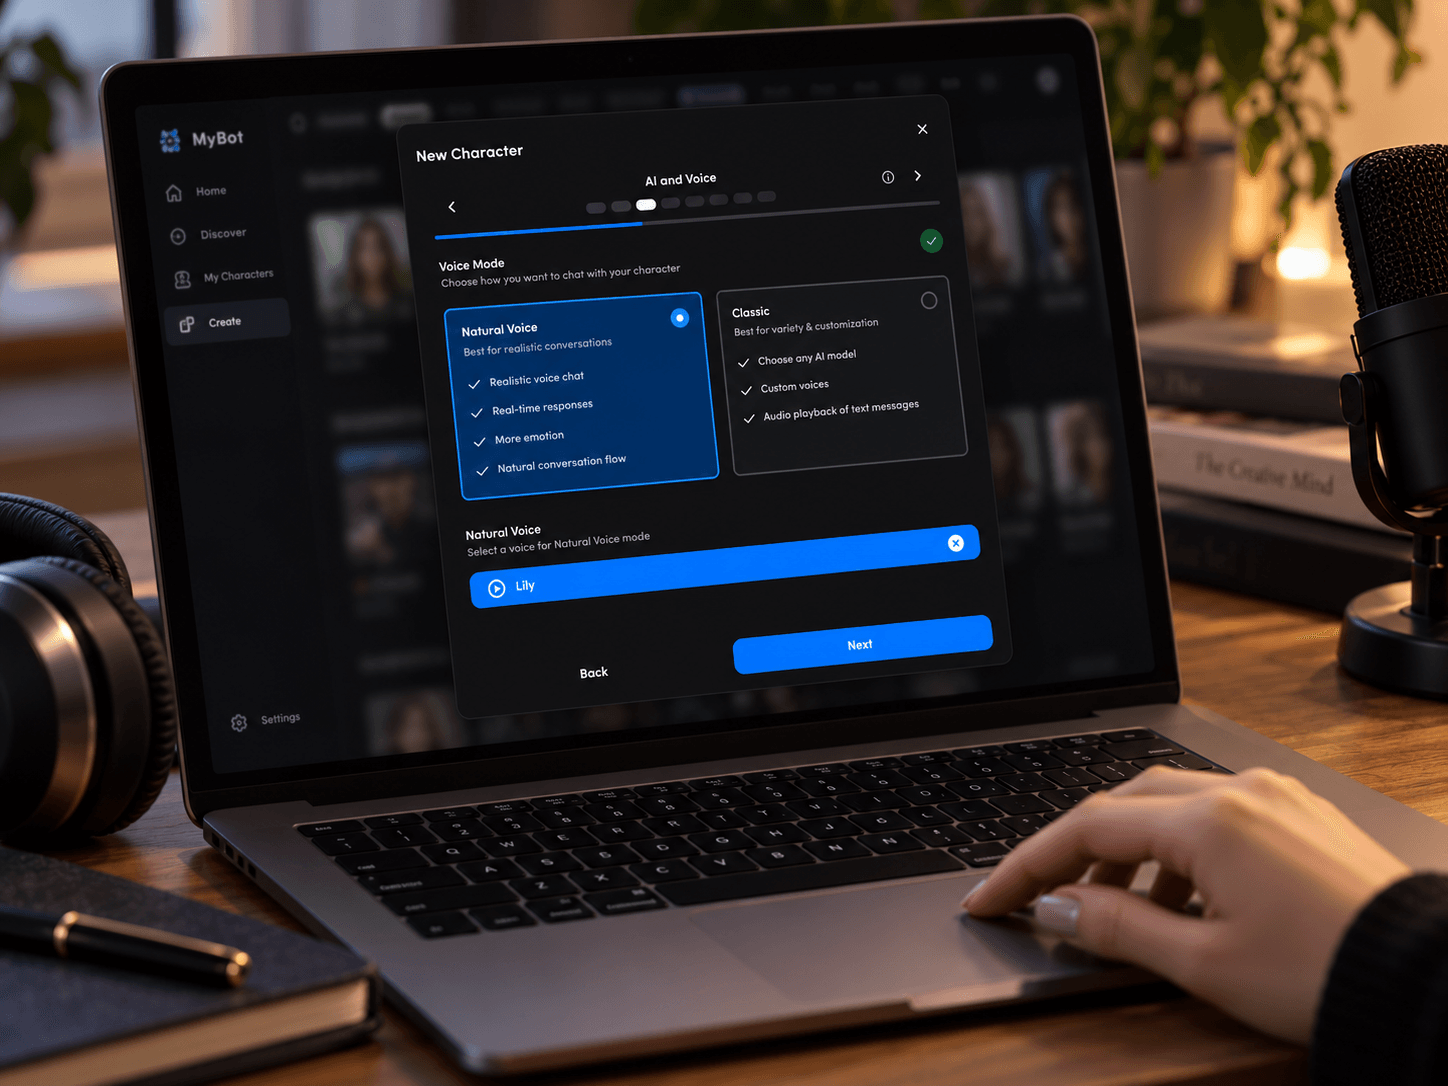
The third screen, AI and Voice, is one of the most important decisions in the wizard.
You first choose between two Voice Modes:
Natural Voice
Natural Voice is the default and is designed for more realistic spoken conversations.
It emphasizes:
- realistic voice chat
- real-time responses
- more emotion
- natural conversation flow
You can also choose a voice. The voice browser can be filtered by All, Feminine, or Masculine, with the initial filter influenced by the gender you selected earlier.
One important distinction: Natural Voice does not show an AI model selector.
Classic
Choose Classic if you want more control over the underlying model and voice setup.
Classic supports:
- AI model selection
- custom voices
- audio playback of text messages
For AI Model Selection, you can choose:
- Auto (General) — default
- Auto (Uncensored)
- Choose my own
Choosing your own model opens the model browser, which groups options into categories such as Popular, Uncensored, Partially Censored, Censored, and Legacy.
Classic also lets you choose a Chat Style:
- Natural Conversation
- Roleplay
A Dialogue voice is required. If you choose Roleplay, you can also assign a separate Narration voice for text between asterisks.
You can select an existing voice or use Create custom voice.
Choose carefully if you want a specific AI model. In the current product, AI model selection happens here during character creation on the Classic path; it is not available when using Natural Voice and does not appear as a model selector in the character editor afterward.
Step 4: Set Character and Chat Style
Next is Character and Chat Style.
This screen controls both the character’s visual style and how their written responses tend to feel.
Character Style
Choose:
- Realistic
- Anime
Chat Length
Choose:
- Brief
- Moderate
- Detailed
- Very Detailed
Emojis
Choose:
- Frequent
- Occasional
- Rare
- Never
All three settings require a choice, and none are selected by default.
This is worth thinking about rather than clicking through quickly. A character designed for quick everyday chat may feel better with shorter replies, while a roleplay-focused character may benefit from more detailed responses.
Step 5: Write the Backstory
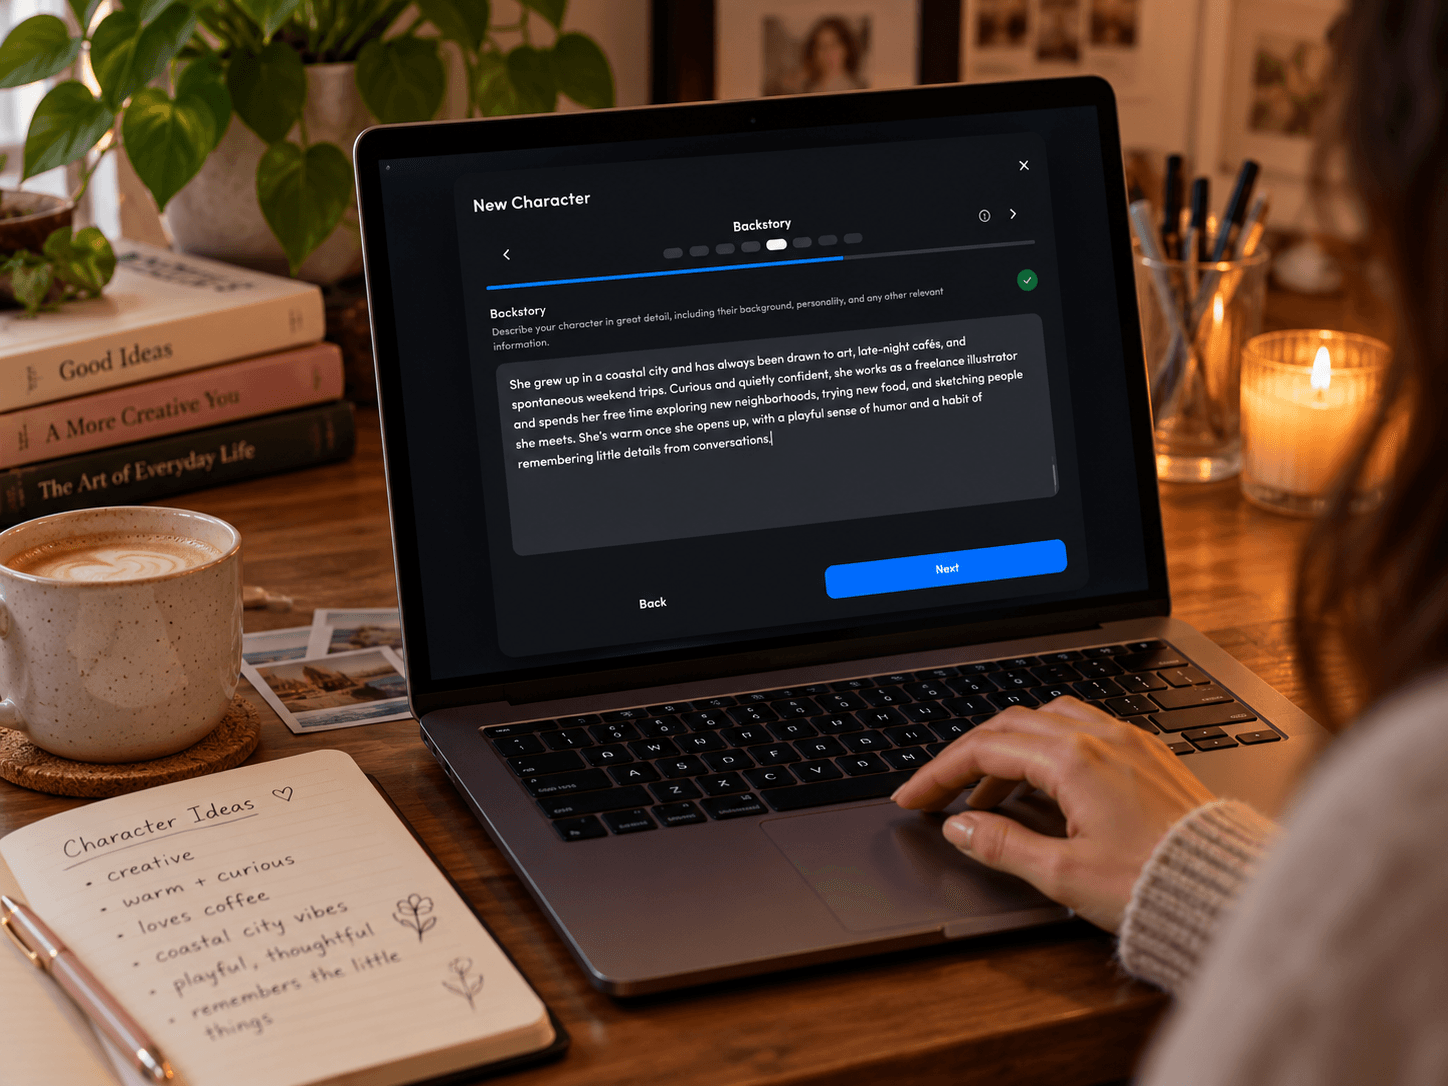
The Backstory screen gives you one large free-text field.
MyBot asks you to:
Describe your character in great detail, including their background, personality, and any other relevant information.
This step is optional, but it is one of the most useful places to give the character a distinct identity.
Focus on details that can actually affect conversation: temperament, speaking style, interests, motivations, relationship dynamics, and a few pieces of history that explain how the character behaves.
For example, instead of writing pages of biography, you might describe someone as curious, quietly confident, playful once they open up, interested in art and travel, and unusually good at remembering the small details people tell them.
A useful checklist is:
- Who are they? Role, setting, occupation, or basic identity.
- How do they act? A few strong personality traits.
- How do they speak? Casual or formal, concise or expressive, playful or serious.
- What do they care about? Interests, goals, fears, or motivations.
- How should they relate to you? Friend, rival, mentor, roleplay partner, companion, or another dynamic.
You can skip Backstory entirely, but a clear description gives the later personality settings more context to work with.
Step 6: Add Personality and Interests
The sixth screen is Personality and Interests.
Everything here is optional.
You can choose structured traits for:
- Behavior
- Communication Style
- Interests
These are multi-select controls, and each section includes an Additional option if you want to go beyond the presets.
Communication Style includes choices such as Flirty and Vulgarity, depending on the kind of character you are building.
If you want more control, open:
Go Deeper → Show advanced options
This adds more personality dimensions, including:
- Archetype
- Core Values
- Cognitive Style
- Emotional Tone
- Social Traits
You do not need to fill every category. A handful of choices that reinforce the same character concept will usually be more coherent than selecting traits simply because they are available.
Step 7: Refine the Physical Description
The seventh screen is Physical Description.
These settings are also optional.
The main fields include:
- Skin Tone
- Eye Color
- Hair Color
For more detail, open Go Deeper.
Additional fields can include:
- Height
- Eye Shape
- Hairstyle
- Breast Size
- Butt Size
- Distinctive Features
Some available fields may depend on choices you made earlier in the wizard.
This is a good place to add the few physical traits you actually want to remain recognizable rather than trying to specify every possible detail.
Step 8: Create the Character Image
The final wizard screen is Image Generation.
Under Character Image, choose how you want to create the portrait:
- Auto-generate
- Quick traits
- Upload image
- Custom description
Auto-generate
Let MyBot generate the portrait from the information you entered throughout the wizard.
Quick traits
Give MyBot a short set of visual traits rather than writing a full image description.
Upload image
Use your own image as the starting point.
There is an important restriction here: characters created using an uploaded image cannot be made public.
If you planned to use the Anybody visibility setting, use one of the generated-image options instead.
Custom description
Write your own visual description for the portrait.
Once you have chosen an image method, click Submit.
There is no separate review screen after Image Generation.
What happens after you submit?
Submitting the wizard does not immediately drop you into chat.
First, you will see Creating your character while MyBot prepares the character.
Then Avatar Studio opens with:
- Images
- Generate
The generated portrait may briefly show a loading state. Once it is ready, click Set as Avatar.
This step matters. In our testing of the current production flow, the character was not retained when we left Avatar Studio before choosing Set as Avatar, so complete this step before navigating away.
After setting the avatar, MyBot shows a Meet [Name]! screen with options such as:
- Customize the avatar
- Edit personality and settings
- Share your character
- Call
- Message
Opening the conversation takes you to the character’s chat and first message.
What can you change after creating a character?
You can edit many parts of a character later, but not everything from the original wizard remains editable.
Open Edit personality and settings, use the edit icon on the character card, or open the character settings from chat. Then choose Edit Character.
Remember to click Save when you finish. Changes do not automatically save.
Settings you can edit later
The Character editor includes settings such as:
- Name
- Deep Memory
- Chat Style
- Explicit/NSFW Content
- Description
- Scenario
- First Message
- Message Example
- Files
- Character Visibility
- Content and Search Tags
- Personality Visibility
- Public Description
- LLM Prompt Overrides
The AI tab also includes image-request settings, Knowledge and World Memory modes, and advanced generation controls.
The Audio tab lets you switch between Natural Voice and Classic and adjust the available audio settings.
You can change the avatar separately through Avatar Studio.
Choices that are currently creation-only
Some wizard settings are not exposed as editable fields afterward, including:
- Gender
- Age
- Body Type
- Ethnicity
- Realistic vs Anime
- Chat Length
- Emoji frequency
- Backstory as its original wizard field
- the Personality and Interests selections from Step 6
- the Physical Description selections from Step 7
- AI Model Selection
- the original image-generation method
Because of that, take a little more care with those choices during creation.
After creating the character, test it in a real conversation
The setup screen can only tell you so much.
Have an actual conversation and deliberately test the traits that matter to you. Change topics, ask an unexpected question, refer back to something established earlier, and try the kind of interaction you created the character for.
Look for specific problems:
- Is the character too verbose or too terse?
- Does the personality fade after the first few messages?
- Does it repeat the same phrases or mannerisms?
- Is the tone more aggressive, agreeable, or theatrical than intended?
- Does the selected voice fit the written personality?
- Is the first message setting the right tone?
You can then refine the settings that remain editable, including Description, Scenario, First Message, Chat Style, voice settings, and Deep Memory.
The goal is not to get every choice perfect before the first conversation. Build a clear starting point, test it, and use the conversation itself to show you what needs adjustment.
How detailed should an AI character backstory be?
Detailed enough to create useful behavioral direction, but not detailed for its own sake.
A short backstory with a strong role, several distinct traits, a recognizable speaking style, and a clear relationship dynamic can be more useful than pages of lore.
If the character feels generic, add specificity. If it keeps forcing irrelevant details into conversations, simplify.
What makes an AI character feel more consistent?
Consistency starts with alignment. The character’s role, Backstory, Personality and Interests, physical design, Character Style, Chat Length, and voice should reinforce the same idea rather than pulling in different directions.
Longer conversations add another challenge: continuity. MyBot’s Deep Memory setting is available in the character editor and can help carry useful context forward, although AI memory should not be treated as a perfect record of every past detail.
Can you change a MyBot character after creating it?
Yes, but not every creation setting can be changed.
You can edit things such as the character’s name, Description, Scenario, First Message, Chat Style, visibility, Deep Memory, voice settings, and several advanced controls.
Other choices — including Gender, Age, Body Type, Ethnicity, Realistic/Anime, Chat Length, Emojis, the original Backstory field, AI Model Selection, and several wizard-only personality and appearance choices — are currently set during creation.
Can you make a character just for yourself?
Yes.
Only you is the default Character Visibility setting and keeps the character private to your account.
You can also choose Unlisted, which allows access through a direct link without making the character broadly discoverable.
Choose Anybody if you want the character to be publicly accessible.
Can I choose which AI model my character uses?
Yes, if you choose Classic on the AI and Voice step.
Classic offers Auto (General), Auto (Uncensored), or Choose my own.
Natural Voice does not expose an AI model selector in the Character Creation Wizard.
Because the model selector is not available in the editor afterward, make that choice during creation if using a particular model matters to you.
Can I upload my own character image?
Yes.
The Image Generation step includes Upload image alongside Auto-generate, Quick traits, and Custom description.
Just keep in mind that a character using an uploaded image cannot be made public.
Create your character, then improve it through conversation
A good AI character does not need the longest Backstory or every advanced option selected.
Start with a clear concept, work through the eight steps, choose settings that reinforce the same personality, and finish the Avatar Studio flow by setting the character’s avatar.
Then chat with the character.
The first real conversation will usually tell you more about what to improve than another hour spent trying to perfect every field before you begin.